

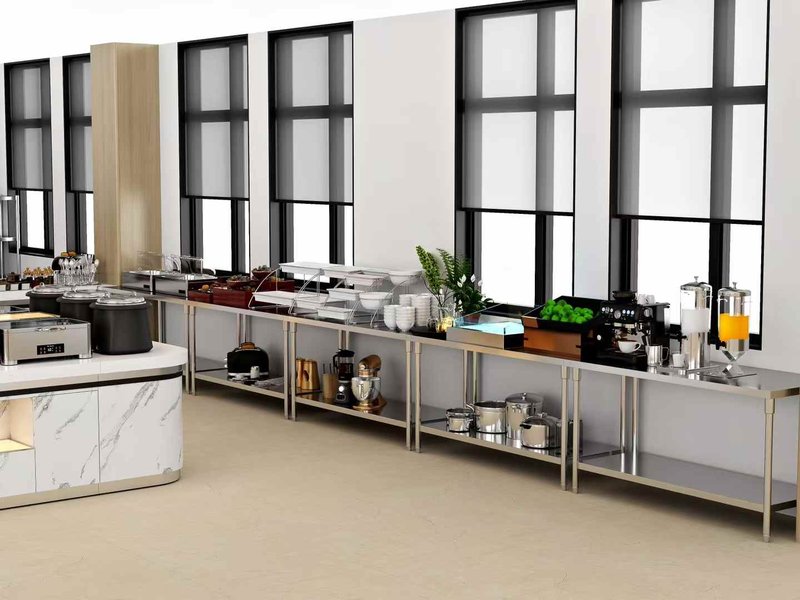
How to Use a Chafing Dish: Step-by-Step Guide for Beginners
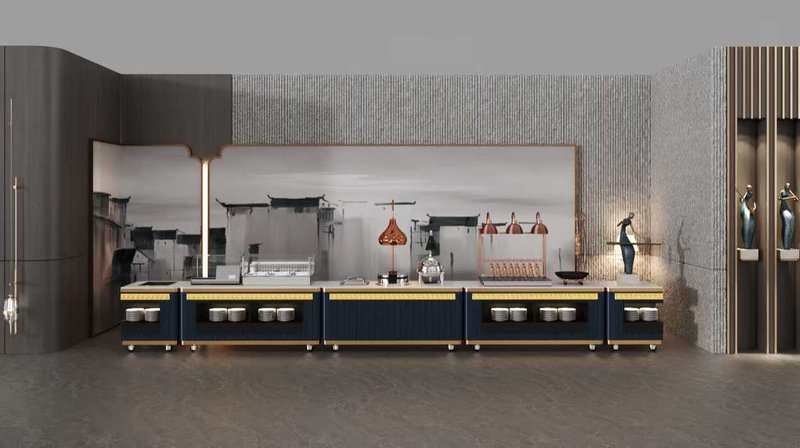
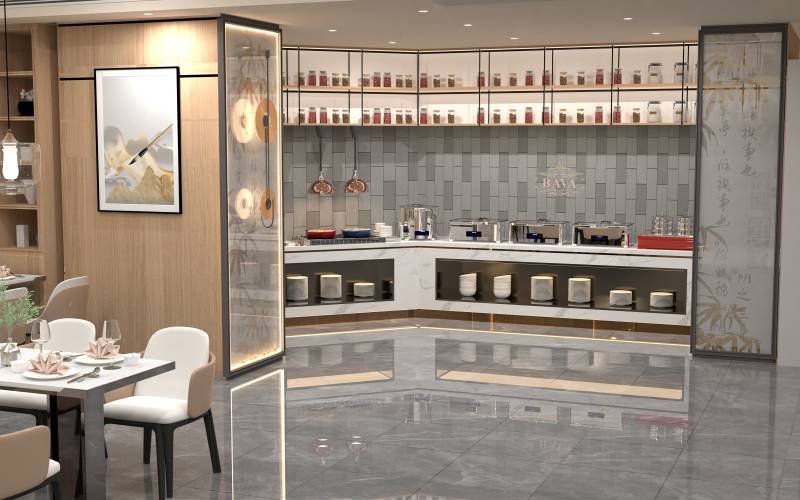
When hosting events, whether it's an elegant wedding reception, a corporate banquet, or a family gathering, maintaining food at the perfect serving temperature is one of the most critical challenges in catering. This is where a chafing dish becomes an indispensable tool in your food service arsenal. A chafing dish, also known as a buffet warmer or chafer, is a specialized serving piece designed to keep food warm for extended periods while maintaining its flavor, texture, and presentation quality. Originally developed in France in the 19th century, these elegant warming vessels have evolved into essential equipment for hotels, restaurants, catering companies, and home entertainers alike.
Understanding Your Chafing Dish
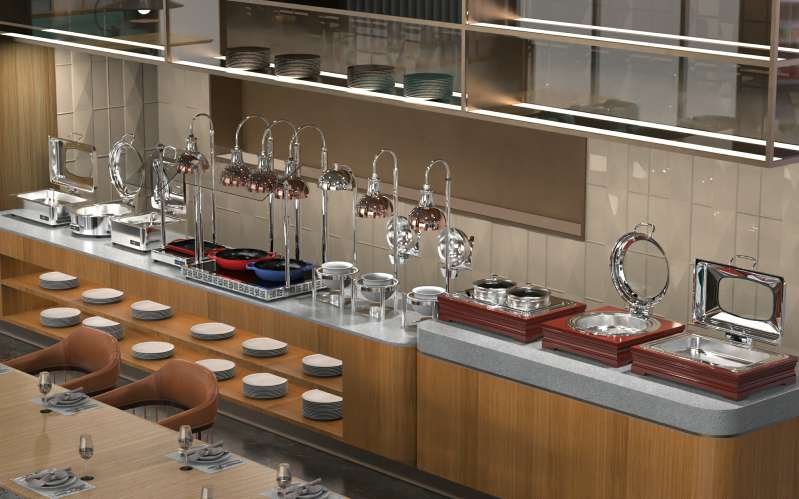
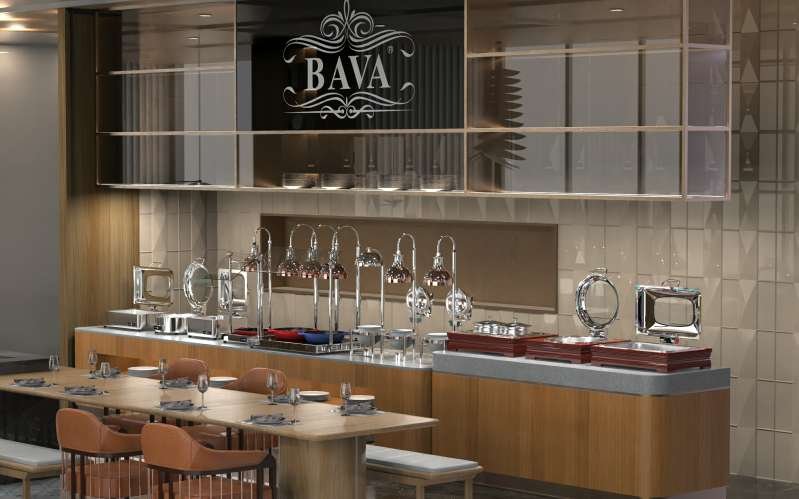
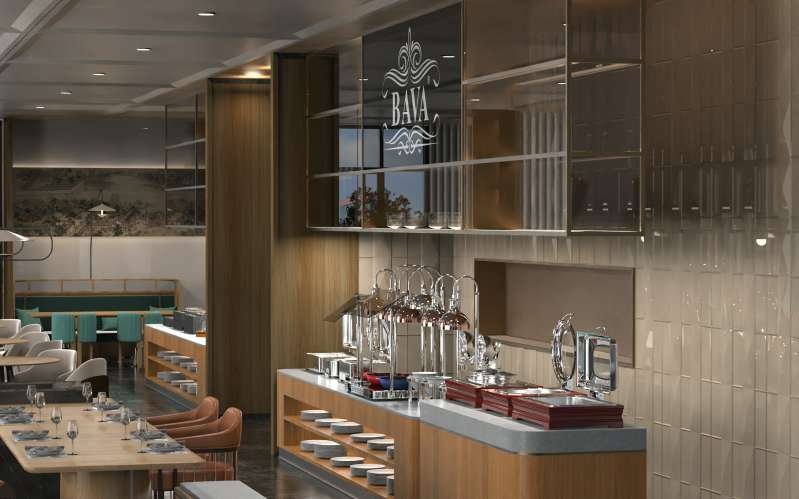
Before diving into the setup process, it's essential to understand the basic components that make up a typical chafing dish. A standard chafing dish consists of several key parts working together to create an effective food warming system. The water pan serves as the primary heat reservoir, holding hot water that surrounds and warms the food pan from below. The food pan, typically sized according to GN (Gastronorm) standards, holds the actual food being served and sits directly on top of the water pan. The frame or stand provides structural support and holds everything in place, while the lid or cover helps retain heat and protect the food from contaminants when not being served.
Chafing dishes come in two primary fuel configurations that significantly impact their operation. Electric chafing dishes utilize electrical heating elements to warm the water bath, offering precise temperature control and consistent heat output. These models are ideal for venues with reliable electrical infrastructure and are particularly popular in hotel breakfast buffets and indoor catering operations. Alcohol fuel chafing dishes, on the other hand, use gel or liquid fuel burned underneath the water pan, providing excellent portability for outdoor events, mobile catering, and locations without convenient electrical access. Understanding these fundamental differences will help you choose the right chafing dish for your specific needs.
Step-by-Step Setup Instructions
Proper setup is crucial for achieving optimal performance from your chafing dish. Follow these detailed steps to ensure your food stays at the perfect serving temperature throughout your event.
Step 1: Choose the Right Location
Select a level, stable surface away from direct sunlight, air conditioning vents, and high-traffic areas where the chafing dish might be accidentally bumped. Ensure there's adequate clearance around the unit for serving and for ventilation if using fuel-powered models.
Step 2: Prepare Hot Water
Fill the water pan with hot or boiling water from a kettle rather than cold water. Starting with hot water significantly reduces heating time and helps maintain consistent temperatures more quickly. Fill to approximately one-half to two-thirds full, avoiding overfilling that could cause splashing when the unit is moved or when food pans are inserted.
Step 3: Insert the Food Pan
Place your preheated food into the food pan before positioning it on the water pan. Preheating the food separately ensures that you're starting with items at or near serving temperature. Gently lower the food pan into the water bath, making sure it sits level and is fully supported by the frame.
Step 4: Add the Fuel
For alcohol-fueled chafing dishes, insert the appropriate fuel holder beneath the water pan. Place the fuel can (gel or liquid fuel) into the holder and light it carefully using a long-reach lighter or match. Allow the flame to stabilize before adjusting to the desired intensity. For electric models, simply plug in the power cord and set your desired temperature using the digital controls.
Step 5: Cover and Heat
Place the lid on top of the chafing dish to trap heat and accelerate the warming process. Allow the unit to heat for approximately 15-20 minutes before checking the food temperature. For electric models with digital displays, monitor the temperature until it reaches your target range.
Step 6: Check and Monitor Temperature
The ideal serving temperature for most hot foods is between 140°F (60°C) and 165°F (74°C). Use a food thermometer to verify that your food has reached a safe holding temperature. Check periodically throughout your event to ensure the temperature remains consistent.
Step 7: Remove the Lid for Service
When ready to begin serving, remove the lid and place it on the serving table nearby. Keep the lid handy in case you need to cover the food during lulls in service or when the event temporarily pauses.
Step 8: Maintain During Service
Stir the food occasionally to promote even heat distribution. Add small amounts of fresh, preheated food as items are depleted rather than allowing the pan to empty completely, which can cause temperature fluctuations.
Safety Tips Every User Should Know
While chafing dishes are remarkably safe when used properly, following essential safety precautions protects both you and your guests. Never leave a lit chafing dish unattended, and keep flammable materials away from the fuel area. When using alcohol fuel, handle fuel cans carefully and store them in a cool, dry location away from heat sources. For electric models, ensure the power cord is in good condition and avoid running cables across walkways where they could become trip hazards. Always use oven mitts or heat-resistant gloves when adjusting lids or food pans, as surfaces can become extremely hot during operation.
Common Mistakes to Avoid
Even experienced caterers sometimes make avoidable errors that compromise their chafing dish performance. One common mistake is starting with cold water, which dramatically increases heat-up time and can result in food sitting in the danger zone (between 40°F and 140°F) for too long. Another frequent error is overfilling the food pan, which prevents proper heat circulation and can cause food in the center to remain cool while the edges become too hot. Using the wrong type of fuel or overfilling fuel cans creates safety hazards and inefficient burning. Finally, neglecting to preheat the food before placing it in the chafing dish is a critical mistake that often leads to foodborne illness risks.
Maintenance and Storage Tips
Proper maintenance extends the life of your chafing dish and ensures consistent performance at every event. After each use, allow the unit to cool completely before cleaning. Remove all food residue from the water pan and food pan using warm, soapy water, then dry thoroughly to prevent rust formation. For stainless steel surfaces, use specialized stainless steel cleaners to maintain the polished appearance. Store your chafing dish in a dry location, preferably in a protective cover or original packaging, to prevent dust accumulation and protect against accidental damage. Regular inspection of gaskets, hinges, and fuel holders helps identify wear before it becomes a problem.
BAVA Product Recommendations
When selecting a chafing dish for your establishment, BAVA offers industry-leading options combining durability, performance, and elegant design. Here are three exceptional choices:
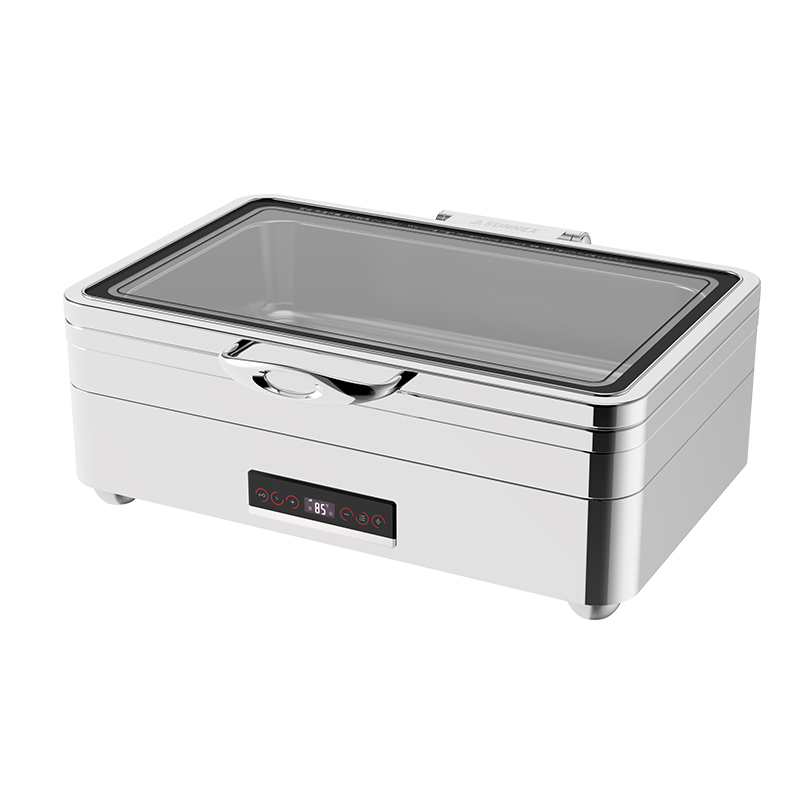
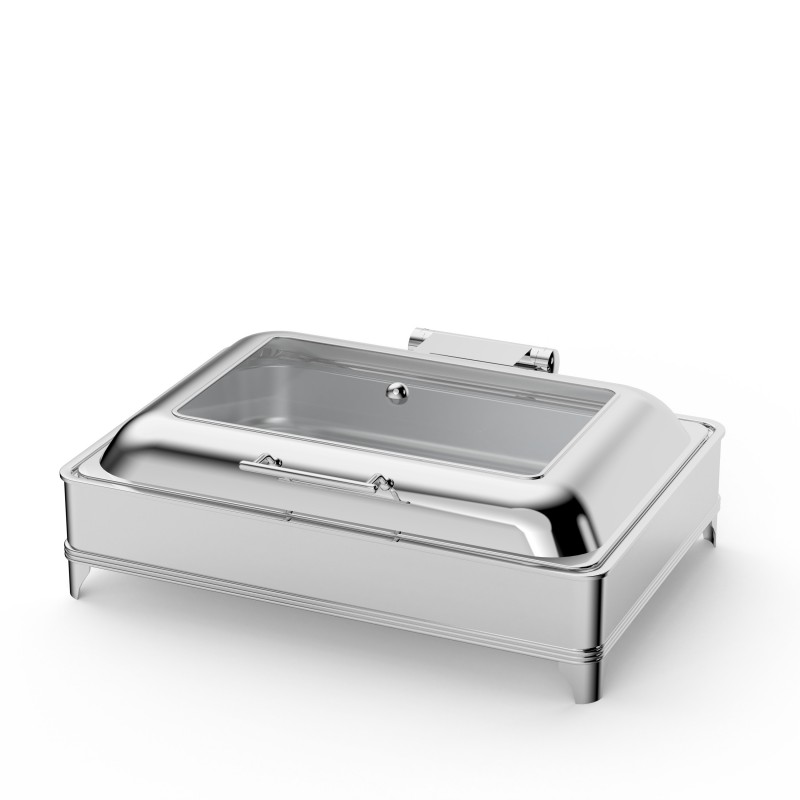
Full Size 11L Electric Chafer (Lido Series W27-1100)
The BAVA Full Size 11L Electric Chafer from the Lido Series delivers exceptional performance with 1100W power and 12-minute rapid heat-up capability. Featuring thermal efficiency exceeding 80%, digital temperature display, and Smart Mode functionality, this polished stainless steel unit is ideal for hotels, banquet halls, and large-scale catering events requiring consistent food warming throughout extended service periods.
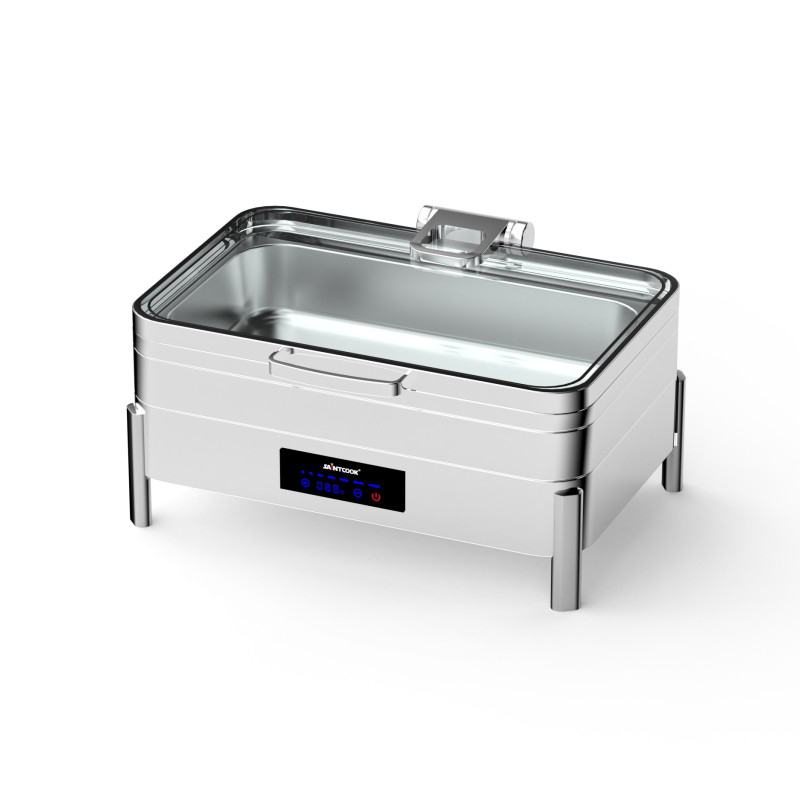
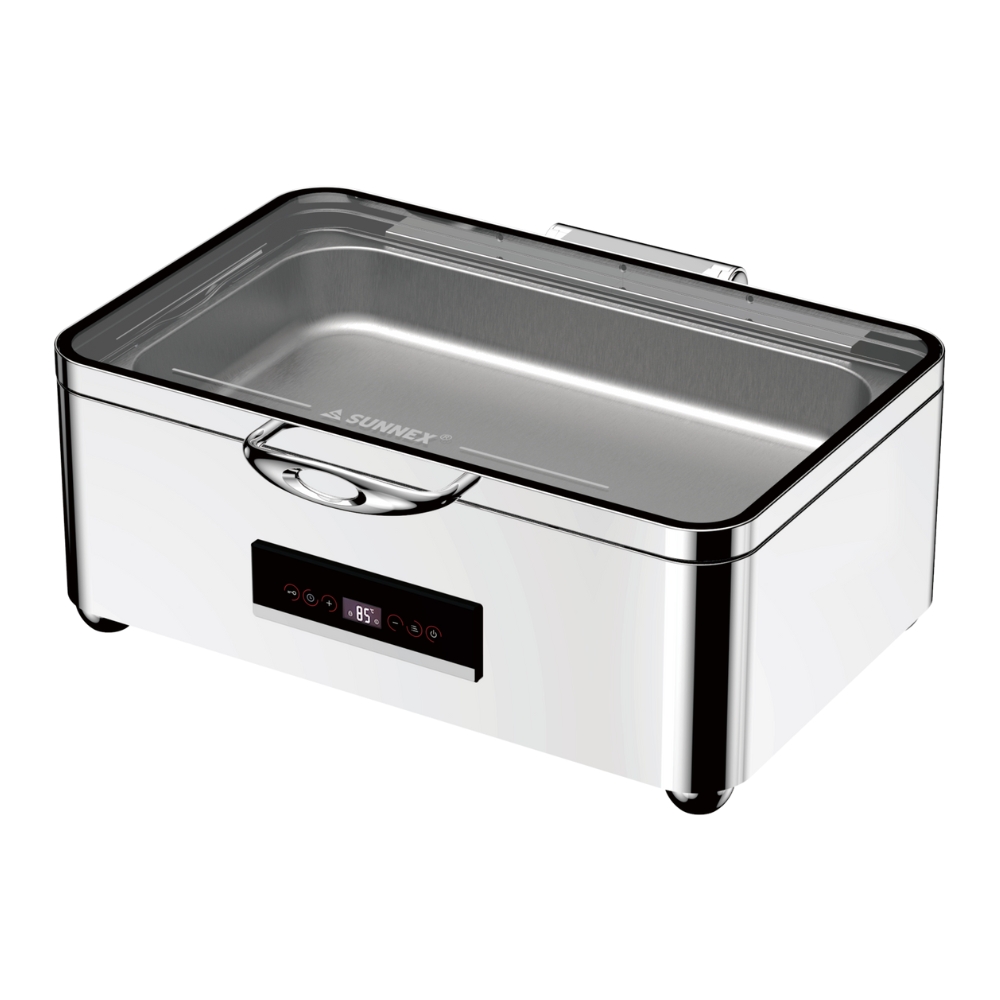
Stainless Steel Electric Buffet Warmer with Visible Window
This BAVA Stainless Steel Electric Buffet Warmer combines practical functionality with elegant design, featuring a transparent glass viewing window that allows staff to monitor food levels without removing the lid. With 400W adjustable temperature control ranging from 45°C to 90°C and GN 1/1 size compatibility, it's perfect for catering companies, wedding receptions, and hotel buffets requiring visual monitoring of food quality and quantity.
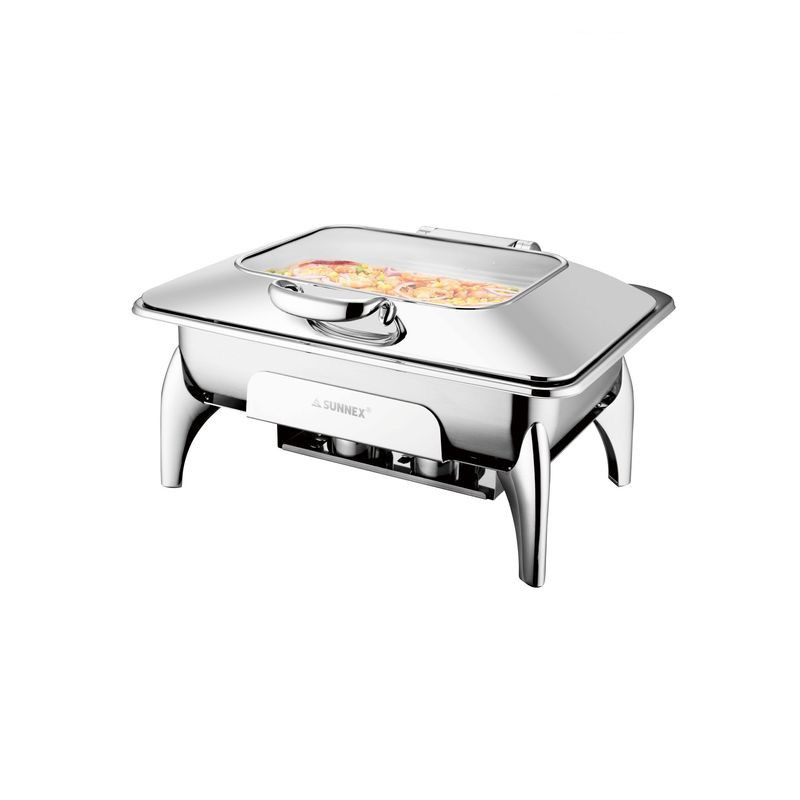
Stainless Steel Alcohol Chafing Dish
The BAVA Stainless Steel Alcohol Chafing Dish provides versatile, portable warming for any event setting. Compatible with standard GN 1/1 food pans and alcohol chafing fuel (gel or liquid), this CE and FDA certified unit offers 2-4 hours of reliable burn time per fuel can. It's an excellent budget-friendly choice for outdoor catering, backyard parties, mobile food trucks, and venues without electrical infrastructure.
Conclusion
Mastering the use of a chafing dish opens up possibilities for successful food service at events of any size. By understanding your equipment, following proper setup procedures, maintaining safe operating practices, and investing in quality products like those from BAVA, you can ensure that every dish you serve arrives at the table at the perfect temperature. Whether you're a professional caterer or a home entertainer, the knowledge and skills gained from this guide will serve you well in creating memorable dining experiences for your guests.
Related Articles
Electric Buffet Warmer with Adjustable Thermostat for Restaurants
Discover the best Electric Buffet Warmer with Adjustable Thermostat for Restaurants solutions. Real ...
Mini Chafing Dish for Breakfast Buffet & Condiment Stations
Discover the best Mini Chafing Dish for Breakfast Buffet & Condiment Stations solutions. Real case s...
9QT Extra-Large Chafing Dish for Large-Scale Banquet Events
Discover the best 9QT Extra-Large Chafing Dish for Large-Scale Banquet Events solutions. Real case s...
Wall-Mounted Buffet Stove for Space-Saving Kitchen Layouts
Discover the best Wall-Mounted Buffet Stove for Space-Saving Kitchen Layouts solutions. Real case st...

Stainless Steel Food Warmer for Supermarket Deli Departments
Discover the best Stainless Steel Food Warmer for Supermarket Deli Departments solutions. Real case ...
Commercial Chafer Dish with Temperature Control for Food Safety
Discover the best Commercial Chafer Dish with Temperature Control for Food Safety solutions. Real ca...