


Buffet Warmer Installation Tips for Beginners
Buffet Warmer Installation Tips for Beginners
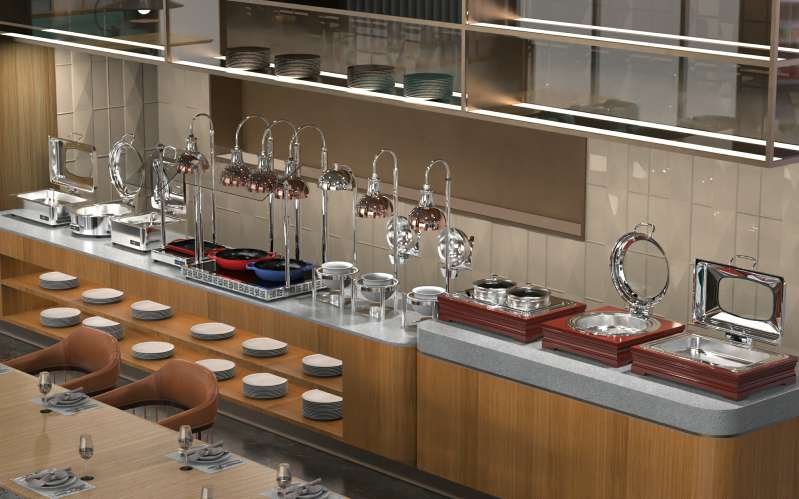
Setting up a buffet warmer might seem intimidating for first-time users, whether you're preparing for a small catering event, opening a new restaurant, or hosting a large family gathering at home. A properly installed buffet warmer not only keeps your food at the perfect safe temperature but also enhances the presentation of your spread and prevents food waste. This guide will walk you through everything you need to know to install your buffet warmer like a pro, even if you've never done it before.
Before You Start: Pre-Installation Preparation
Before you unbox your new buffet warmer, there are several important steps to take to ensure a smooth installation process. Skipping these steps can lead to mistakes, safety hazards, or inefficient performance later on.
- Choose the right location: Buffet warmers need a stable, flat surface that can support their weight when fully loaded with food. Avoid placing them near edges where they could be knocked over, and keep them away from flammable materials like tablecloths that hang too close. For electric buffet warmers, make sure there's a grounded electrical outlet nearby that can handle the power requirements without overloading a circuit.
- Check your tools: Most modern buffet warmers come pre-assembled for the most part, but you may still need basic tools like a screwdriver, adjustable wrench, or level. Check the manufacturer's instruction manual ahead of time to see what tools are required, and have them ready before you start.
- Read the manual carefully: Every buffet warmer model is a little different, so don't assume you know everything just because you've seen one set up before. The manufacturer's manual will include specific safety information, weight limits, and installation instructions that are tailored to your model.
- Inspect for damage: When you first unbox your buffet warmer, check all components for any damage that might have occurred during shipping. If you notice dents, frayed electrical cords, or broken parts, contact the supplier before attempting to install it – using damaged equipment can be dangerous.
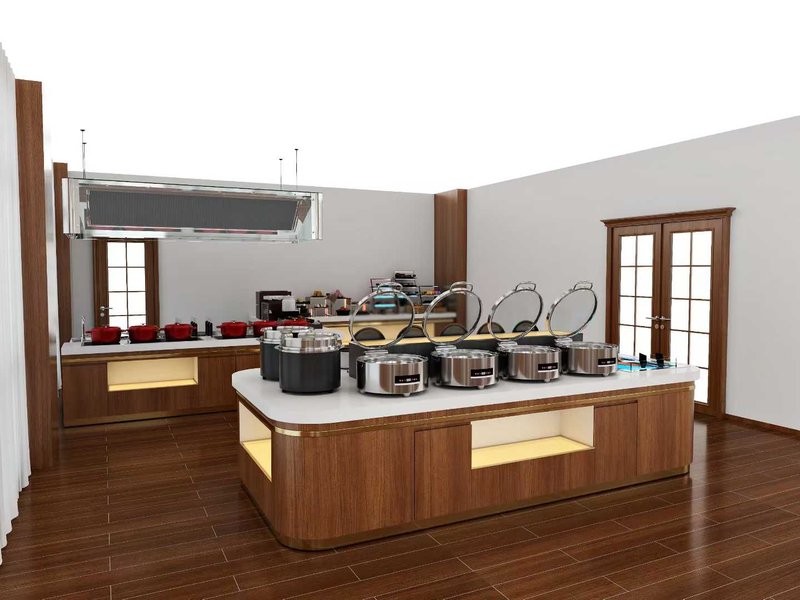
Step-by-Step Installation for Electric Buffet Warmers (Chafing Dishes)
Electric chafing dishes are the most common type of buffet warmer used in commercial and large events, and they're actually quite straightforward to install for beginners.
Start by assembling the base stand. Most electric buffet warmers come with a separate base that houses the heating element and controls. Place the base on your prepared location and use a level to make sure it's completely flat. If the base isn't level, your food won't heat evenly, and the warmer could be unstable. Most bases have adjustable feet that you can turn to get the perfect level position.
Next, connect any necessary electrical components. If your warmer has a detachable power cord, plug it securely into the base first before plugging it into the wall outlet. Never force a plug that doesn't fit – if your plug doesn't match the outlet, have a qualified electrician install the correct outlet instead of using an adapter that could be unsafe.
Once the base is in place and connected, insert the water pan. Electric buffet warmers use a water bath system to gently and evenly heat your food, so you'll need to add clean warm water to the water pan before adding your food pan. Check the manufacturer's instructions for the correct water level – adding too much can cause it to boil over, while adding too little can lead to overheating.
After the water pan is in place, you can add your food pan filled with pre-heated food. Finally, place the lid on top, set your desired temperature according to food safety guidelines, and allow a few minutes for the warmer to preheat before guests serve themselves.
Step-by-Step for Fuel-Powered Buffet Warmers
Fuel-powered buffet warmers are a popular choice for outdoor events or locations where electrical outlets aren't available. Installation is a bit different, but still beginner-friendly as long as you follow safety rules.
Start with the same base setup: place the stand on a stable, flat surface away from flammable materials. Assemble the fuel holder according to the instructions, making sure it's securely attached to the base. Place the water pan in the stand, then add the appropriate amount of water. Light the chafing fuel according to the fuel manufacturer's instructions, and carefully place it into the fuel holder. Never overfill fuel containers, and never add more fuel to a fire that's already burning – wait until it's completely out and cooled before refueling.
Once the fuel is lit and in place, add your food pan and cover with the lid. Adjust the fuel flow if your warmer has an adjustable vent to control the temperature. Always keep a fire extinguisher nearby when using fuel-powered warmers, and never leave them unattended while the fuel is burning.
Common Beginner Mistakes to Avoid
Even if you follow all the steps, it's easy to make simple mistakes that can affect your buffet warmer's performance. Here are the most common issues beginners face, and how to avoid them:
- Overloading the warmer: Every buffet warmer has a maximum weight capacity. Putting too much food in the pan can strain the base, block proper heat distribution, and create a safety hazard. Stick to the recommended capacity listed in your manual.
- Ignoring electrical safety: Never use an extension cord that isn't rated for the power draw of your buffet warmer. Using an underrated extension cord can cause overheating and start a fire. If you must use an extension cord, choose one that's rated for at least the wattage of your warmer.
- Forgetting the water: For both electric and fuel-powered buffet warmers, the water bath is essential for even heating and preventing food from burning. Don't skip adding water just because you're in a hurry.
- Not pre-heating the food: Buffet warmers are designed to keep food warm, not to cook it or heat it up from cold. Always pre-heat your food to the proper temperature before placing it in the warmer – this ensures food safety and reduces the strain on your warmer's heating element.
Safety Tips for New Users
Safety should always be your top priority when installing and using a buffet warmer. Always make sure your warmer is placed out of the reach of children, and clearly mark the area if it's in a high-traffic location. Keep flammable items like napkins, paper products, and decorative materials at least one foot away from the warmer. At the end of your event, turn off electric warmers and allow them to cool completely before cleaning or moving them. For fuel warmers, extinguish the fuel completely and allow everything to cool before handling.
Final Checks After Installation
Once you've finished installing your buffet warmer, take a few minutes to do a final check before adding your food. Make sure the warmer is stable and doesn't wobble when you gently push on it. For electric models, turn it on for a few minutes and check that it's heating evenly and that the controls work properly. For fuel models, check that the flame is steady and that there's no risk of it flaring up. If you notice any issues during your check, turn off or extinguish the warmer and address the problem before proceeding.
With these simple tips, even beginners can install a buffet warmer correctly and safely. By taking the time to prepare properly, follow the manufacturer's instructions, and follow basic safety rules, you'll be able to keep your buffet food at the perfect temperature for your entire event.
Recommended Products
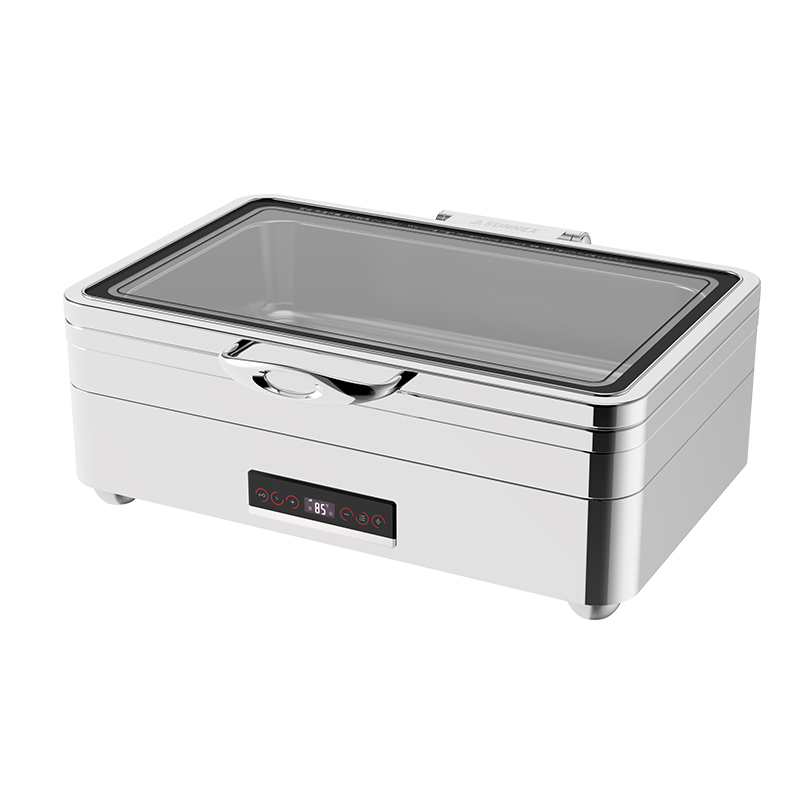
Full Size 11L Electric Chafer (W27-1100)
This full-size electric buffet warmer features 1100W power that heats up in just 12 minutes, with precise digital temperature control to keep your food at the perfect safe temperature. It's made with durable commercial-grade materials for long-term use.
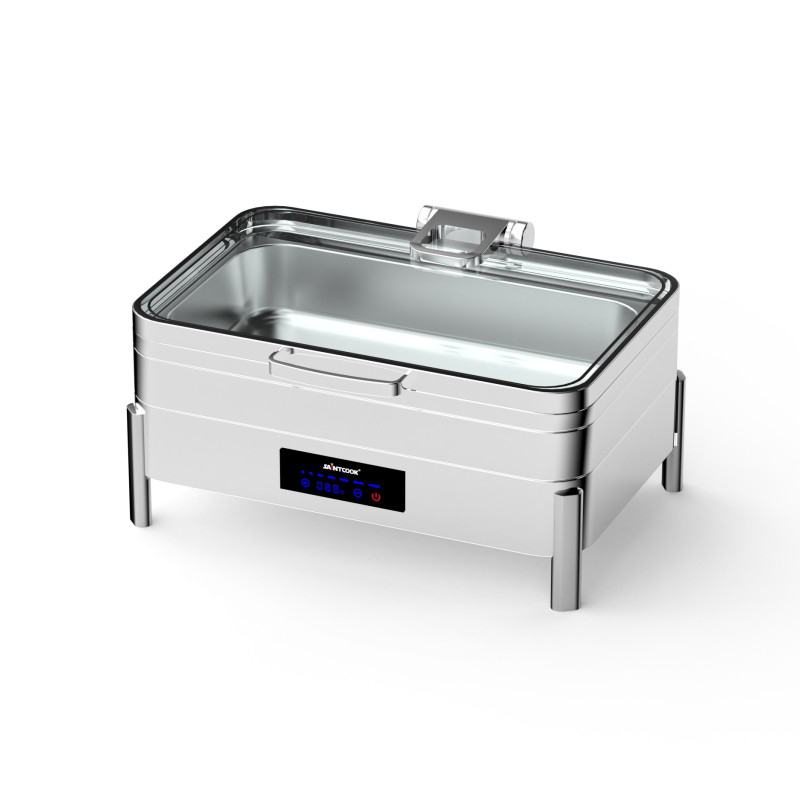
View Details →Electric Chafing Dish Food Warmer (数字温控)

This beginner-friendly electric buffet warmer features 400W efficient heating, precise digital temperature control, and a high-quality 304 stainless steel construction that's easy to clean and built to last.
View Details →Related Articles

Electric Buffet Warmer with Adjustable Thermostat for Restaurants
Discover the best Electric Buffet Warmer with Adjustable Thermostat for Restaurants solutions. Real ...
Mini Chafing Dish for Breakfast Buffet & Condiment Stations
Discover the best Mini Chafing Dish for Breakfast Buffet & Condiment Stations solutions. Real case s...

9QT Extra-Large Chafing Dish for Large-Scale Banquet Events
Discover the best 9QT Extra-Large Chafing Dish for Large-Scale Banquet Events solutions. Real case s...

Wall-Mounted Buffet Stove for Space-Saving Kitchen Layouts
Discover the best Wall-Mounted Buffet Stove for Space-Saving Kitchen Layouts solutions. Real case st...

Stainless Steel Food Warmer for Supermarket Deli Departments
Discover the best Stainless Steel Food Warmer for Supermarket Deli Departments solutions. Real case ...

Commercial Chafer Dish with Temperature Control for Food Safety
Discover the best Commercial Chafer Dish with Temperature Control for Food Safety solutions. Real ca...