

How to Maintain Your Buffet Warmer for Long-Term Use
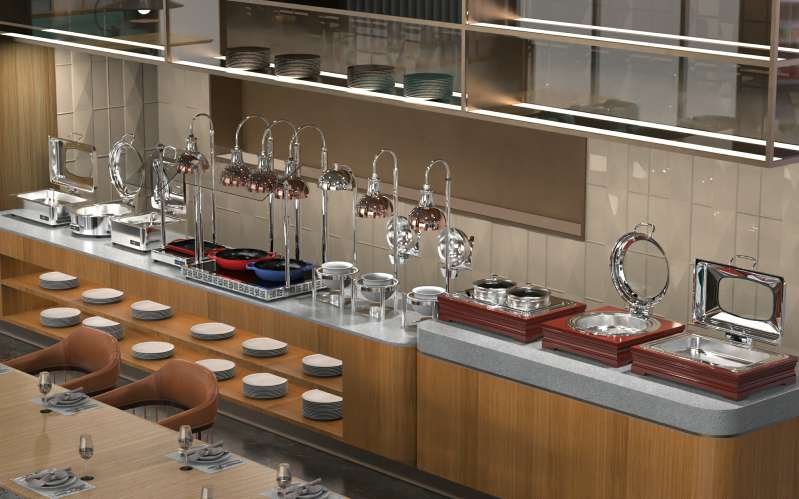
A buffet warmer is one of the most essential pieces of equipment in any commercial kitchen, hotel breakfast service, or catering operation. Whether you are running a five-star hotel, a busy corporate cafeteria, or a catering business that serves hundreds of guests at events, your buffet warmer is working hard every single day to keep food at safe, appetizing temperatures. Without proper maintenance, even the highest-quality stainless steel chafing dishes can deteriorate rapidly, leading to inconsistent heating, rust, food safety risks, and ultimately costly replacements. This guide walks you through every step of maintaining your buffet warmer for long-term reliability, safety, and performance.
Investing in quality equipment is only half the battle. The longevity of your buffet warmer depends almost entirely on how well you care for it after each use. From daily cleaning routines to seasonal deep maintenance, there are proven strategies that professional caterers and hotel kitchen managers use to keep their chafing dishes in peak condition for years. Whether you own a simple alcohol-fueled chafer or a sophisticated electric buffet warmer with digital temperature controls, the principles of proper maintenance remain the same: cleanliness, inspection, careful handling, and timely repairs.
Understanding your specific type of buffet warmer is the first critical step. There are three main categories: traditional alcohol-fueled chafing dishes that use sterno or liquid alcohol for heating, electric chafing dishes that plug into standard power outlets and feature adjustable temperature controls, and induction-based warming stations that use electromagnetic heat. Each type has its own maintenance requirements, quirks, and lifespan considerations. Knowing which category your equipment falls into will help you follow the right maintenance protocol.

Daily Cleaning: The Foundation of Long-Term Care
After every single use, your buffet warmer should be thoroughly cleaned. This is non-negotiable. Food residues, especially acidic foods like tomato-based sauces, citrus marinades, or dairy-based dishes, can corrode stainless steel surfaces over time if left to sit. Begin by allowing the unit to cool completely. Never attempt to clean a hot chafing dish, as thermal shock can damage heating elements and warp metal surfaces.
Disassemble all removable components: the food pan, water pan, cover, and any utensil trays or condiment holders. Wash each piece in warm water with a mild detergent, using a soft sponge or non-abrasive cloth to avoid scratching the stainless steel finish. For stubborn food residues, soak the components in warm soapy water for 15-20 minutes before scrubbing. Avoid using steel wool or harsh abrasive pads, as these will leave microscopic scratches that become breeding grounds for bacteria and future corrosion.
The exterior body of the chafing dish deserves equal attention. Wipe down all outer surfaces with a damp cloth and a stainless steel-specific cleaner or a solution of warm water and white vinegar. This removes grease splatter, fingerprints, and food juices that accumulate during service. Dry all components thoroughly with a clean microfiber cloth to prevent water spots and mineral deposits, especially if your facility uses hard water.
Weekly and Monthly Deep Maintenance
Beyond daily cleaning, your buffet warmer requires periodic deep maintenance to address issues that daily routines miss. Once a week, inspect the heating element of your electric buffet warmer carefully. Check for any signs of fraying cords, loose connections, or discoloration around the heating plate. If you notice any burning smell when the unit is in use, immediately unplug it and have it inspected by a qualified technician before the next use.
For alcohol-fueled chafing dishes, inspect the fuel holder compartment for corrosion, discoloration, or warping. The fuel canisters and their holders can accumulate residue from repeated use, which may affect heating efficiency. Clean the fuel compartment with a dry cloth and never use water inside the fuel area. Replace the fuel holders if you notice any pitting, rust, or deformation, as these can become fire hazards. Always use the correct type of fuel recommended by your manufacturer.
Check the gaskets and seals around glass lids and hinged covers. Over time, these rubber or silicone seals can harden, crack, or lose their elasticity. Compromised seals allow heat to escape and reduce the efficiency of your warmer. Replace any damaged gaskets promptly. Also examine the hinges and latches: lubricate them with food-safe lubricant if they become stiff, and tighten any loose screws before the next event.
Proper Storage Between Uses
How you store your buffet warmer between events is just as important as how you clean it. Never stack heavy items on top of glass lids or fragile components. If you must stack chafing dishes for storage, place a protective layer such as a foam pad or soft cloth between each unit to prevent scratches and impact damage. Store all components in a dry, well-ventilated area to prevent moisture buildup, which leads to rust and mold.
For electric units, coil the power cords loosely. Never wrap them tightly around the body of the unit, as this can cause the cord to fatigue and break at the bend points over time. If your buffet warmer has a removable temperature probe or control panel, store these separately in a padded compartment to prevent damage. Cover the entire unit with a breathable dust cover to protect it from airborne particles and debris while allowing air circulation to prevent condensation.
Seasonal storage deserves special attention if your operation is seasonal or if you have backup units that sit idle for extended periods. Before long-term storage, apply a thin layer of food-grade mineral oil to the stainless steel surfaces to create a protective barrier against oxidation. This is particularly important in humid environments or unheated storage spaces. Reapply the oil before bringing the unit back into service.
Water Pan Management: The Secret to Even Heating
The water pan is the heart of your buffet warmer's thermal performance. It acts as a heat buffer, distributing warmth evenly beneath the food pan and preventing direct heat contact that could scorch food. Maintaining the water pan properly is one of the most impactful things you can do for both food quality and equipment longevity.
Always use distilled or filtered water in the water pan, especially in areas with hard water. Tap water contains minerals that leave deposits on the pan's surface, creating scale buildup that reduces thermal conductivity over time. After each use, empty the water pan completely and dry it thoroughly. Standing water left in the pan will cause pitting corrosion on the stainless steel, which is irreversible and will eventually create leaks. Inspect the water pan regularly for signs of rust spots, pitting, or deformation. A damaged water pan should be replaced immediately to avoid catastrophic failure during service.
When setting up for an event, fill the water pan to the manufacturer's recommended level, usually about one inch below the rim. Overfilling causes water to splash into the food pan during transport or service, while underfilling reduces heating efficiency and may allow the heating element to overheat. During extended events, monitor the water level and top it up as needed to maintain consistent performance throughout the service period.
Inspecting and Replacing Wear Parts
Even the most well-maintained buffet warmer will eventually require replacement of certain consumable and wear parts. Knowing when and how to replace these components is a key skill that separates operators who get years of reliable service from those who constantly battle equipment failures. Common wear parts include heating elements in electric units, fuel holders and burners in alcohol-fuelled models, rubber gaskets and seals, glass lids, and the food and water pans themselves.
Create a simple maintenance log for each unit in your inventory. Record the date of each use, any issues observed, parts replaced, and the next scheduled inspection date. This log becomes invaluable for tracking patterns of wear, predicting when parts will need replacement, and providing documentation for warranty claims. Most manufacturers recommend replacing heating elements every 2-3 years in high-use environments, and gaskets annually regardless of visible condition.
When ordering replacement parts, always use genuine manufacturer components rather than generic alternatives. While aftermarket parts may seem like a cost-saving measure, they often have slightly different dimensions or materials that compromise the fit, seal integrity, and thermal performance of your unit. The small upfront savings are quickly erased by reduced efficiency and shortened equipment lifespan.
Recommended Products for Reliable Buffet Service
Alcohol Heated Chafing Dish + Utensil Tray
Alcohol Heated Chafing Dish - Stainless Steel Buffet Warmer with Built-in Utensil Tray. Hygienic tong storage, durable stainless steel body, ideal for banquet catering, self-service buffets, and hotel breakfast service.

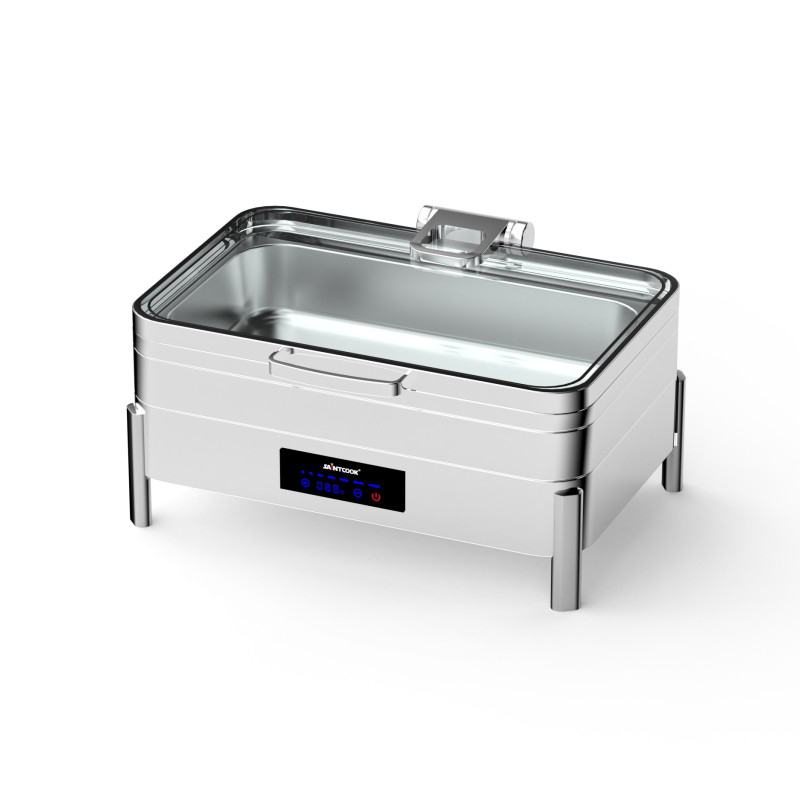
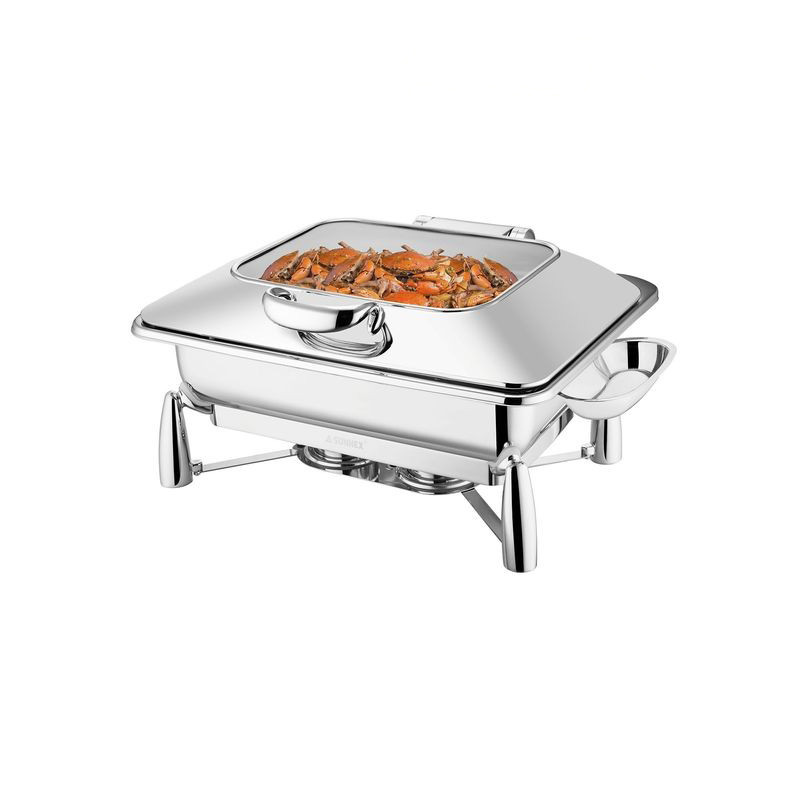
Stainless Steel Alcohol Fuel Buffet Chafing Dish
Stainless Steel Alcohol Fuel Buffet Chafing Dish with Visible Window. Transparent glass lid for easy food monitoring, alcohol fuel powered heating, sleek stainless steel finish for formal banquets and wedding receptions.
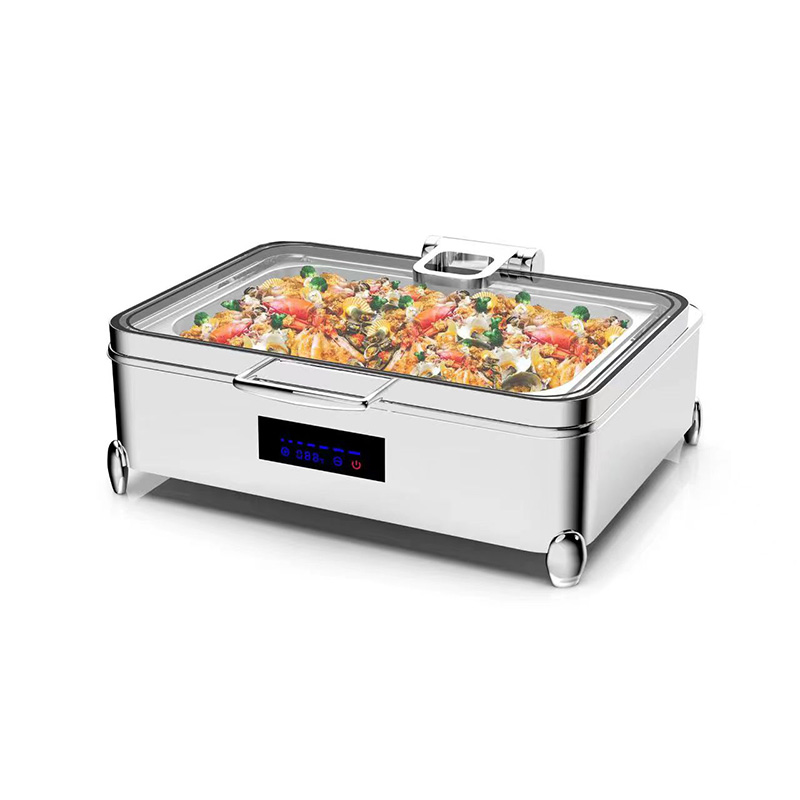
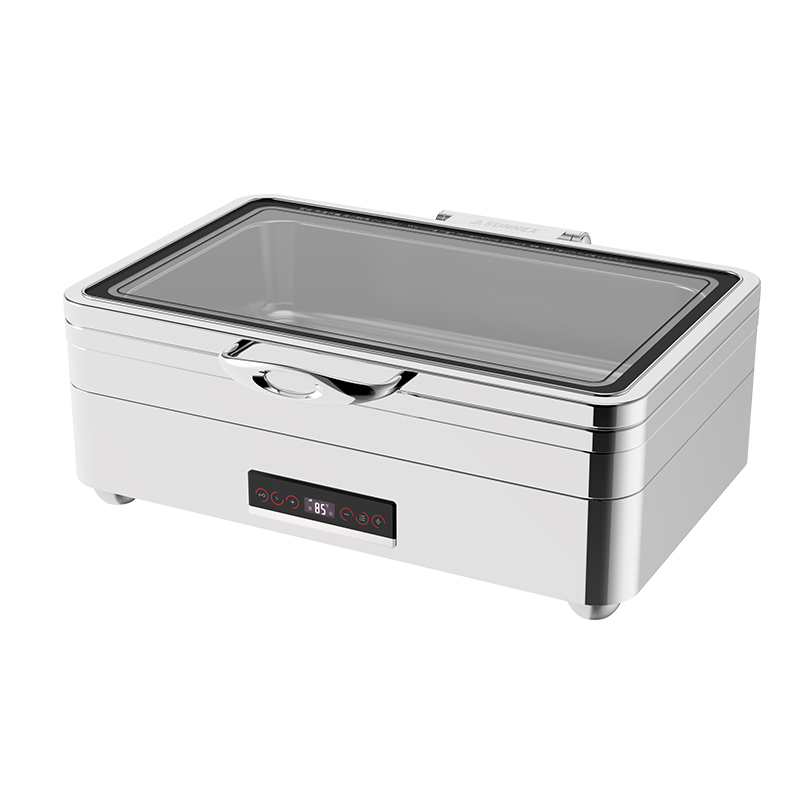
Electric Chafing Dish Food Warmer
Commercial Hotel Electric Visual Buffet Chafing Dish - 400W Fast Heating Stainless Steel Food Warmer. Electric heating plate ensures consistent temperature, visual glass window, stainless steel construction for hotel breakfast buffets.
Troubleshooting Common Issues
Even with diligent maintenance, you may encounter occasional issues with your buffet warmer. Uneven heating is one of the most common complaints and typically stems from a warped water pan, insufficient water level, or a failing heating element. If only certain areas of your food pan are being kept warm while others cool quickly, check the water pan first for flatness and the water level for adequacy before investigating the heating element.
Cloudy or etched glass lids are another frequent issue, usually caused by hard water deposits or using abrasive cleaners. Restore clarity by soaking the lid in a solution of equal parts white vinegar and warm water for 30 minutes, then gently scrubbing with a non-abrasive pad. For severe etching, replacement is the only option. Always use a microfiber cloth for drying glass components to minimize scratching.
If your electric warmer fails to heat at all, check the power cord and outlet first. A tripped circuit breaker or a loose plug connection accounts for the majority of electric warmer failures. If the power supply is confirmed good, the heating element or thermostat may need replacement. These are straightforward repairs for a qualified technician but should not be attempted as DIY projects due to the electrical safety risks involved.
By following this comprehensive maintenance program, your buffet warmer will deliver consistent, reliable performance for many years. The time and effort invested in proper care pays dividends through reduced replacement costs, fewer service interruptions, and consistently excellent food presentation that keeps your guests coming back.
Related Articles
Electric Buffet Warmer with Adjustable Thermostat for Restaurants
Discover the best Electric Buffet Warmer with Adjustable Thermostat for Restaurants solutions. Real ...
Mini Chafing Dish for Breakfast Buffet & Condiment Stations
Discover the best Mini Chafing Dish for Breakfast Buffet & Condiment Stations solutions. Real case s...

9QT Extra-Large Chafing Dish for Large-Scale Banquet Events
Discover the best 9QT Extra-Large Chafing Dish for Large-Scale Banquet Events solutions. Real case s...

Wall-Mounted Buffet Stove for Space-Saving Kitchen Layouts
Discover the best Wall-Mounted Buffet Stove for Space-Saving Kitchen Layouts solutions. Real case st...

Stainless Steel Food Warmer for Supermarket Deli Departments
Discover the best Stainless Steel Food Warmer for Supermarket Deli Departments solutions. Real case ...
Commercial Chafer Dish with Temperature Control for Food Safety
Discover the best Commercial Chafer Dish with Temperature Control for Food Safety solutions. Real ca...